Difference between revisions of "Cone bottoms for tanks"
| Line 1: | Line 1: | ||
| − | + | [[File:Cone_Calculator_grab.png|500px|thumb|right|Cone calculator. Source: Tony.]] | |
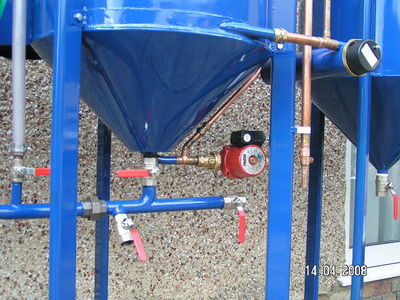
| + | Cone bottomed tanks facilitate accurate splitting of oil and water, oil and glycerol (if you [[Glycerol wash]]) or glycerol and biodiesel. | ||
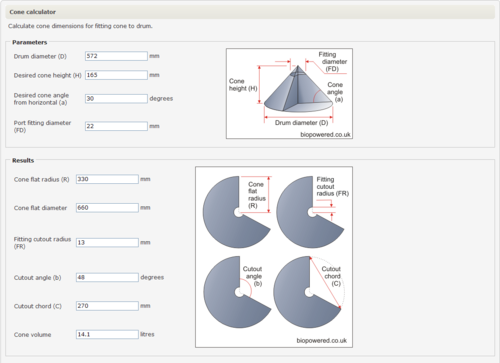
| + | The easiest way to generate the shape or development for a conical bottom is to use the calculator complied by Tony. For security reasons this has to be located outside of the wiki, but it can be accessed via this link or via the forum menu … | ||
| − | |||
| − | [ | + | [http://www.biopowered.co.uk/forum/tools/cone.php Biopowered cone calculator.] |
| − | |||
| + | Use of the calculator should be self explanatory, but you will need to enter the following information. Tank or drum diameter. Required cone height or required cone angle and the outside diameter of the fitting you intend to use. For these three parameters the calculator will provide all the dimensions to manufacture a cone. | ||
| + | <BR> | ||
| + | <BR> | ||
| − | |||
| − | + | [[File:Conical_bottom_JamesRL.jpg|400px|thumb|left|Fabricated cone bottom. Source: JamesRL.]] | |
| − | + | ||
| + | <BR> | ||
| + | <BR> | ||
| + | <BR> | ||
| + | <BR> | ||
| + | <BR> | ||
| + | <BR> | ||
| + | <BR> | ||
| + | <BR> | ||
| + | <BR> | ||
| + | <BR> | ||
| + | <BR> | ||
| + | <BR> | ||
| + | <BR> | ||
| + | <BR> | ||
| + | <BR> | ||
| + | <BR> | ||
| + | <BR> | ||
| + | <BR> | ||
| − | |||
| − | + | Before making a start with a metal cone it may be advantageous to check everything fits correctly by making a paper or card test cone, it could save you a great deal of time in the long run! | |
| − | |||
| − | + | [[File:Cone_bottom_tab.png]] | |
| − | |||
| − | |||
| − | |||
| − | |||
| − | [[File: | ||
| − | |||
| − | |||
| − | |||
| − | |||
| − | |||
| − | |||
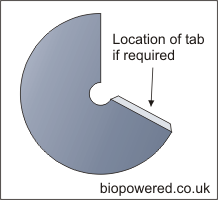
| − | + | If required a tab can be added to the development to assist in assembly and welding. | |
| − | |||
| − | |||
| − | |||
<gallery caption="Steps in producing a cone bottom" widths="400px" heights="500px" perrow="2" align="left"> | <gallery caption="Steps in producing a cone bottom" widths="400px" heights="500px" perrow="2" align="left"> | ||
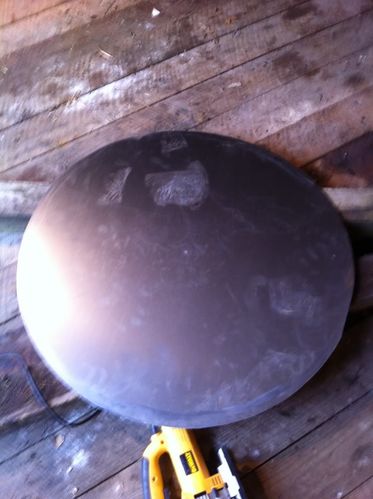
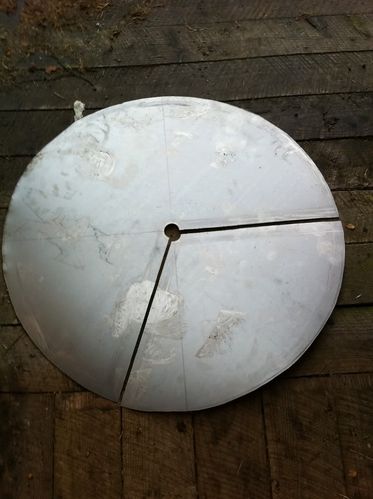
File:Conebottomphoto1 source rob-b.jpg|Blank for cone. Source: Rob-b | File:Conebottomphoto1 source rob-b.jpg|Blank for cone. Source: Rob-b | ||
| − | File:Conebottomphoto2 source rob-b.jpg| | + | File:Conebottomphoto2 source rob-b.jpg|Development for cone cut from blank. Source: Rob-b |
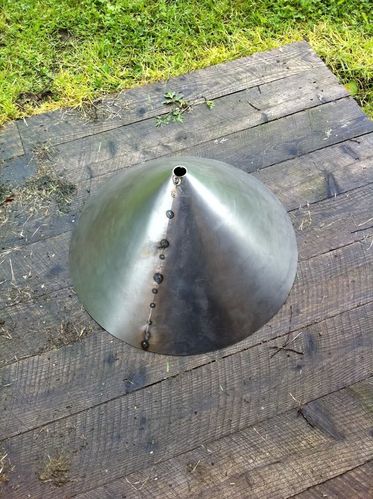
| − | File:Conebottomphoto3 source rob-b.jpg| | + | File:Conebottomphoto3 source rob-b.jpg|Development formed to cone and tack welded Source: Rob-b |
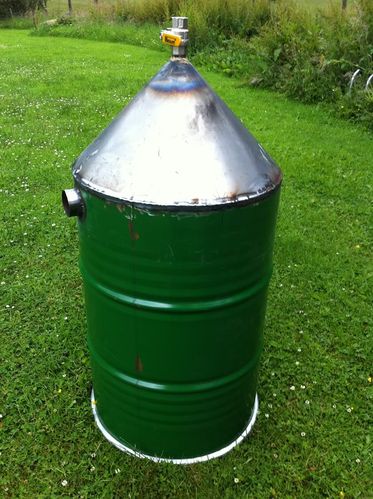
File:Conebottomphoto4 source rob-b.jpg|Finished cone with fitting welded to tank. Source: Rob-b | File:Conebottomphoto4 source rob-b.jpg|Finished cone with fitting welded to tank. Source: Rob-b | ||
</gallery> | </gallery> | ||
Revision as of 23:13, 12 September 2012
Cone bottomed tanks facilitate accurate splitting of oil and water, oil and glycerol (if you Glycerol wash) or glycerol and biodiesel.
The easiest way to generate the shape or development for a conical bottom is to use the calculator complied by Tony. For security reasons this has to be located outside of the wiki, but it can be accessed via this link or via the forum menu …
Use of the calculator should be self explanatory, but you will need to enter the following information. Tank or drum diameter. Required cone height or required cone angle and the outside diameter of the fitting you intend to use. For these three parameters the calculator will provide all the dimensions to manufacture a cone.
Before making a start with a metal cone it may be advantageous to check everything fits correctly by making a paper or card test cone, it could save you a great deal of time in the long run!
If required a tab can be added to the development to assist in assembly and welding.
- Steps in producing a cone bottom
