Difference between revisions of "Fitting a heater flange"
m |
|||
| Line 1: | Line 1: | ||
| − | Soldering a flange ring to a barrel for an immersion heater | + | Soldering a flange ring to a barrel for an immersion heater. |
| + | __TOC__ | ||
| + | ==Direct fitting== | ||
| + | |||
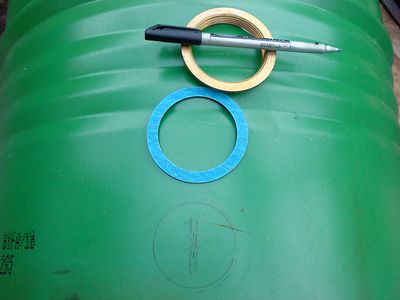
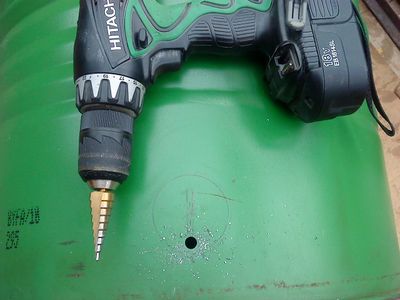
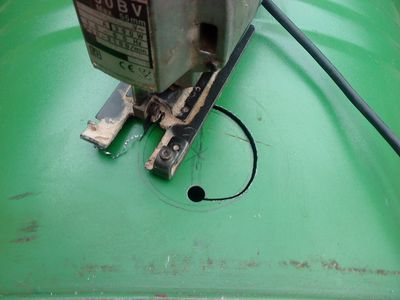
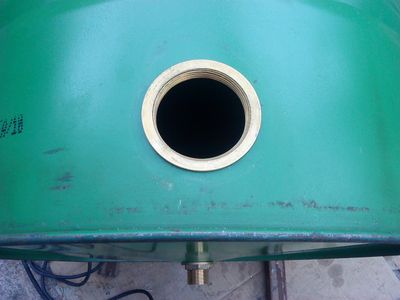
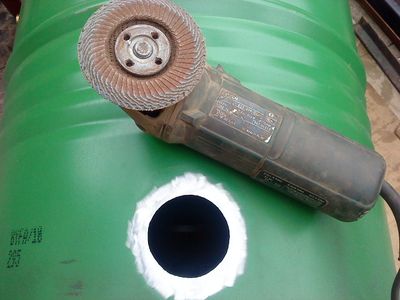
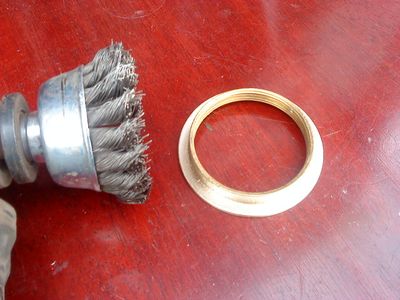
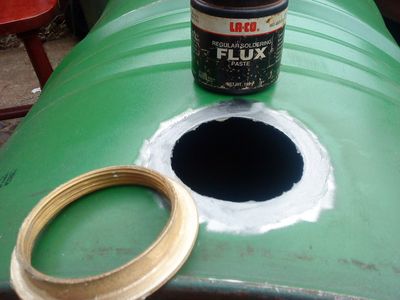
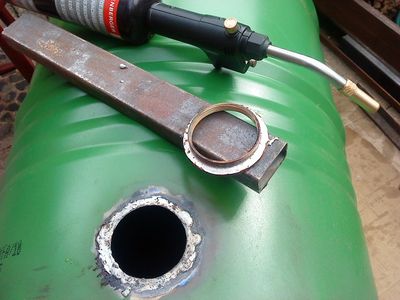
| + | When fitting an immersion heater flange to a thin walled tank if sufficient heat is available to overcome the heat sink effect of the tank, the following is probably the easiest method. | ||
| Line 16: | Line 20: | ||
File:Ring-12.jpg | File:Ring-12.jpg | ||
</gallery> | </gallery> | ||
| + | |||
| + | ==Indirect fitting== | ||
| + | |||
| + | This method allows a commercially available brass flange to be soldered or silver soldered to a thin wall tube, which in turn can be welded to a thick walled tank. This gives the advantage of being able to fit a flange to a circular tank of a small diameter. | ||
| + | |||
| + | The intermediate tube in the first set of photos was, as shown, rolled to size on a set of bending rolls. The tube in the final photo was hand formed. | ||
| + | |||
| + | |||
| + | <gallery caption="Fabricating an immersion heater fitting" widths="250px" heights="200px" perrow= "3" align="center"> | ||
| + | File:Rolling heater tube.JPG | ||
| + | File:Heater flange and tube.JPG | ||
| + | File:Preparation for silver soldering.JPG | ||
| + | File:Heat applied flux foams and solidifies.JPG | ||
| + | File:Silver solder applied.JPG | ||
| + | File:Completed joint after cleaning.JPG | ||
| + | File:Chain drill.jpg | ||
| + | File:File out.jpg | ||
| + | File:Weld tube.jpg | ||
| + | </gallery> | ||
| + | |||
| + | |||
| + | |||
| + | [[File:Immersiuon Flange JRL.jpg|700px|thumb|center|Hand formed intermediate tube. Source: jamesrl]] | ||
| + | |||
| + | |||
| + | Typically the spigot on a commercially made immersion heater flange is 69mm diameter. The closest size steel pipe the writer has found to-date is 70mm OD mild steel exhaust tubing. This typically has a wall thickness of 1.2mm and hence an ID of 67.6mm. At the time of writing, this has not been tried, but it may be possible to expand the tubing by beating the wall slightly thinner using a hammer and a suitable mandrel. | ||
| + | |||
[[User:Rotary-Motion|Rotary-Motion]] 20:29, 13 April 2011 (BST) | [[User:Rotary-Motion|Rotary-Motion]] 20:29, 13 April 2011 (BST) | ||
Latest revision as of 19:47, 24 June 2012
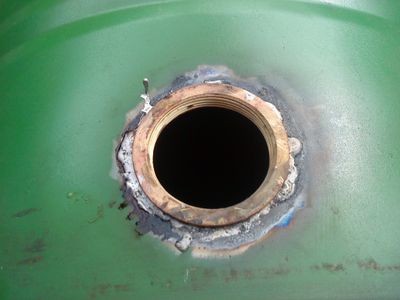
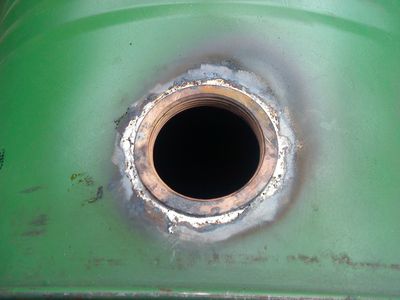
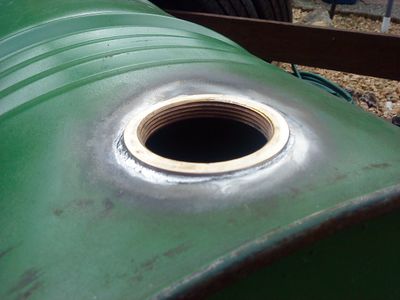
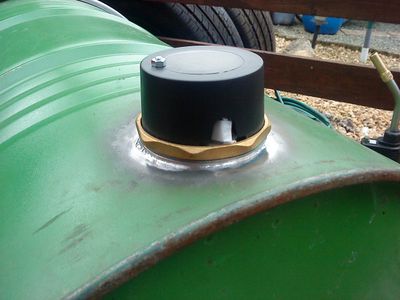
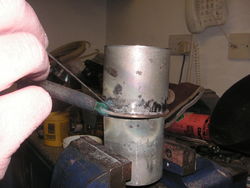
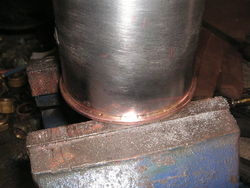
Soldering a flange ring to a barrel for an immersion heater.
Contents
Direct fitting
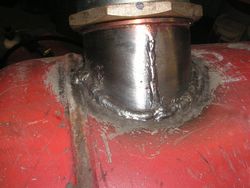
When fitting an immersion heater flange to a thin walled tank if sufficient heat is available to overcome the heat sink effect of the tank, the following is probably the easiest method.
- Click pictures to enlarge
Indirect fitting
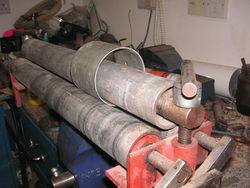
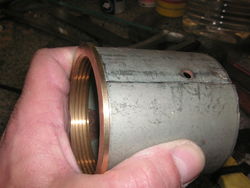
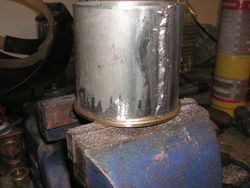
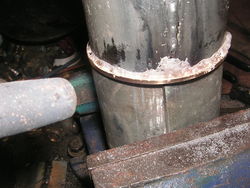
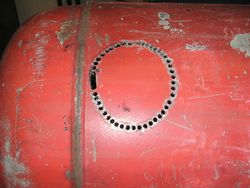
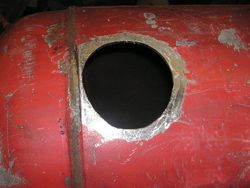
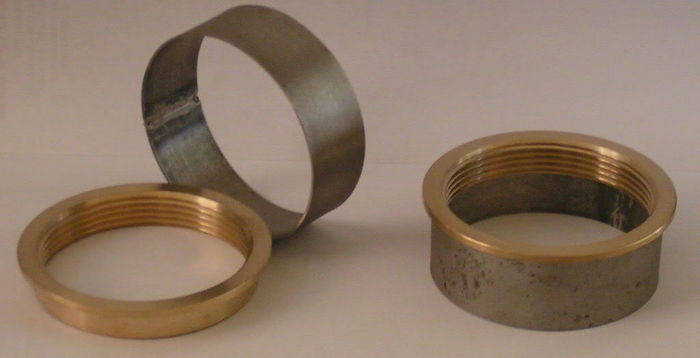
This method allows a commercially available brass flange to be soldered or silver soldered to a thin wall tube, which in turn can be welded to a thick walled tank. This gives the advantage of being able to fit a flange to a circular tank of a small diameter.
The intermediate tube in the first set of photos was, as shown, rolled to size on a set of bending rolls. The tube in the final photo was hand formed.
- Fabricating an immersion heater fitting
Typically the spigot on a commercially made immersion heater flange is 69mm diameter. The closest size steel pipe the writer has found to-date is 70mm OD mild steel exhaust tubing. This typically has a wall thickness of 1.2mm and hence an ID of 67.6mm. At the time of writing, this has not been tried, but it may be possible to expand the tubing by beating the wall slightly thinner using a hammer and a suitable mandrel.
Rotary-Motion 20:29, 13 April 2011 (BST)
